These wood slice Christmas ornaments were quick and easy to create, and I am sure that you can do it yourself in less than five minutes… well, maybe a little longer if you include drying time. They turn out really rustic and cute, and make great gift toppers as well!
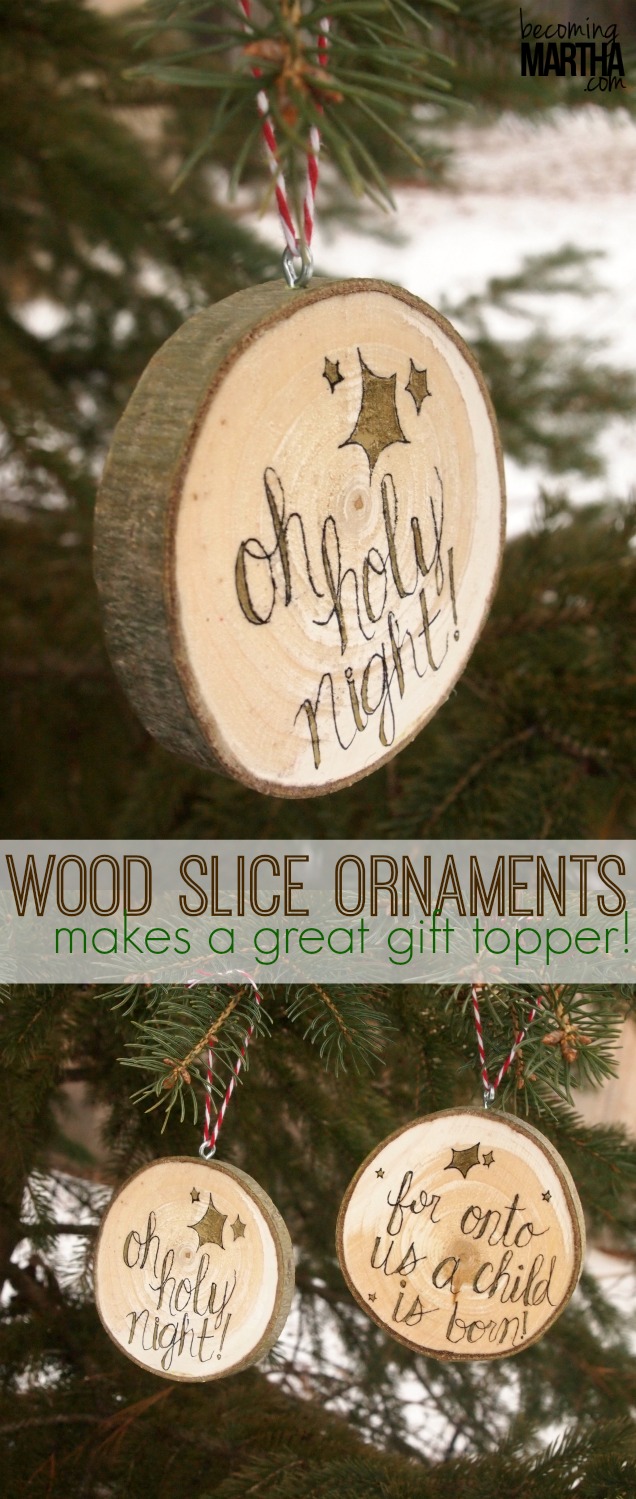
Want to make your own? Here’s how!
Wood Slice Christmas Ornaments Tutorial

You’ll need:
- wood slices (mine were white pine, I think)
- black ultra fine marker
- gold (or other holiday color) paint style pen
- sealer of some sort – poly, mod podge, etc.
- eye pins
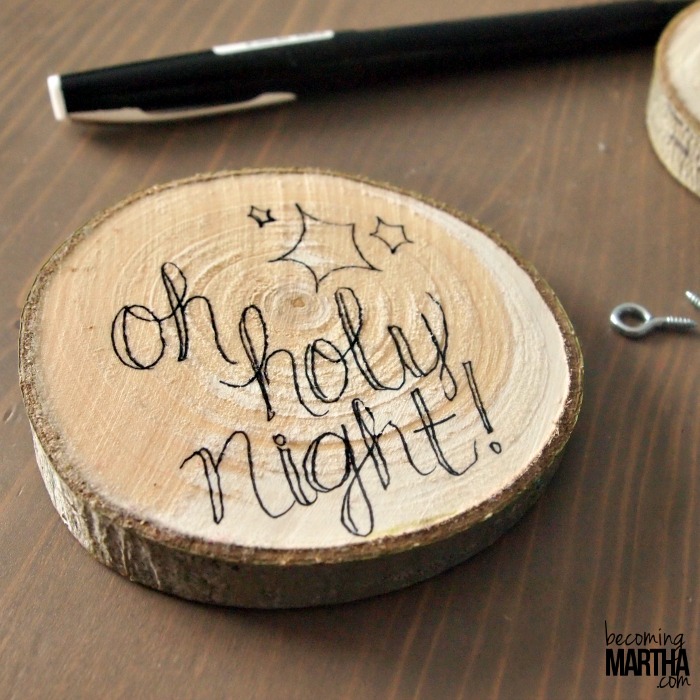
To start, draw a design on your wood slice with the black marker. I just freehanded a few Christmas phrases like “oh holy night” and “for onto us a child is born”. I made a little edge on the left hand side of each letter to make it a bit fancy. (If you don’t trust your hand writing, why not try a stamp?) I also freehanded some doodled stars.
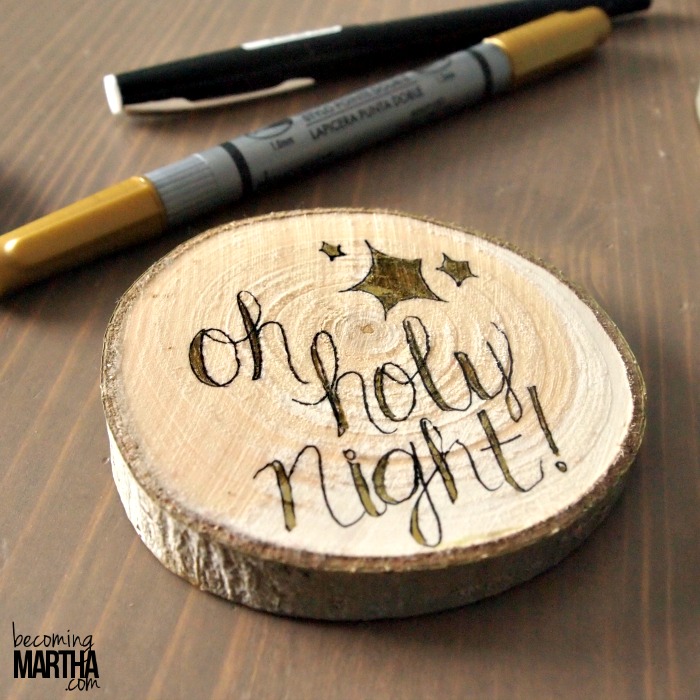
Next, I went back with my gold paint pen and colored in the edges on the letters and the stars.
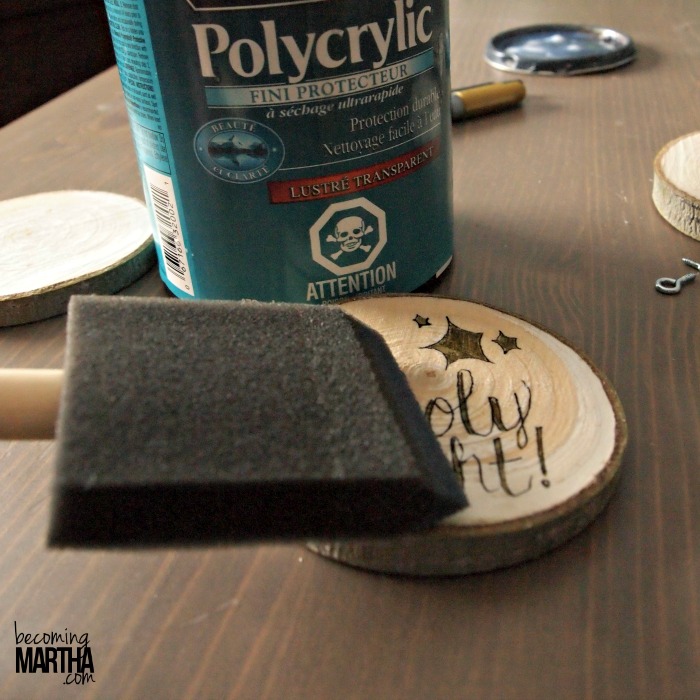
Once your ink is totally dry, apply a thin layer of sealer all around. Let the sealer dry, and then twist an eye pin into the top of your wood disc. Use this to tie a pretty ribbon or piece of twine which you can use to hang the ornament.
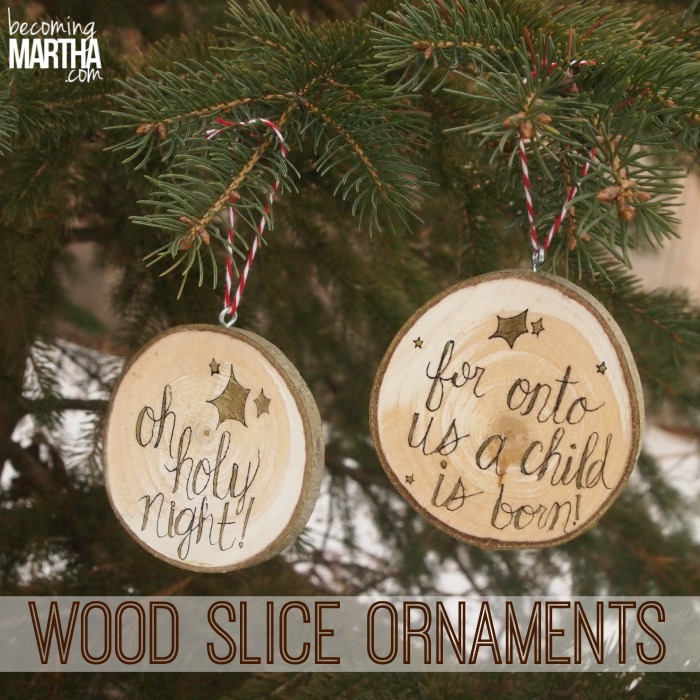
That’s all there is to it! Aren’t these a great way to jazz up a wrapped gift? You could make super cute monogram ones that would double as a tag and an ornament! (I just thought of that right then, or I would have made one of those too!)
Do you have any quick and easy gift ideas up your sleeve this year?
If you liked this post, you might also like my…

Original article and pictures take becomingmartha.com site
Комментариев нет:
Отправить комментарий